
How engine fitment assistance works: a complete guide

Engine fitment assistance is the process of verifying that a replacement engine physically and electronically matches your vehicle before and during installation. It covers everything from engine codes and mounting points to ECU compatibility and wiring harness matching. Skip this step and you risk buying an engine that bolts in but refuses to start, or worse, one that damages the transmission within weeks. Understanding how engine fitment assistance works is the difference between a clean swap and an expensive rebuild.
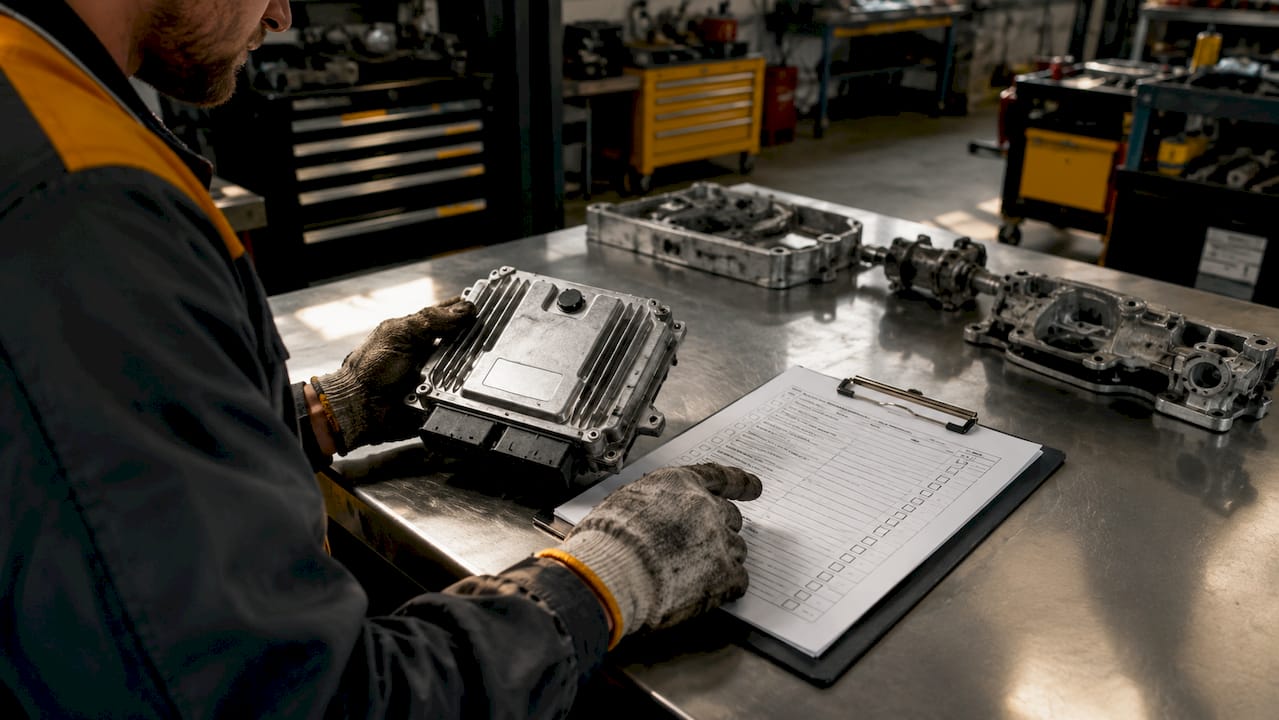
What factors determine engine compatibility?
Engine compatibility requires checking engine codes, mounting points, electronics systems including ECU and immobiliser integration, and transmission match. Physical fit alone is insufficient. Here are the core factors a proper engine compatibility guide must address:
- Engine code and model year. The engine code stamped on the block is the primary identifier. Two engines from the same model line can carry different codes and use incompatible mounts, sensors, or management systems.
- Mounting points and engine bay dimensions. Mounting ear distances must match the subframe exactly. The engine also needs clearance for the oil pan, exhaust manifold, and ancillaries within the bay.
- Transmission bellhousing pattern. The bolt pattern on the bellhousing must align with the gearbox. Even a few millimetres of misalignment causes severe drivetrain wear over time.
- Electronic integration. The ECU, immobiliser, and wiring harness must be compatible. A modern Hyundai or Kia engine swap can fail entirely if the replacement ECU does not communicate with the body control module.
- Emissions compliance. In Australia, engines must meet ADR (Australian Design Rules) emissions standards for the vehicle’s registration year. Swapping to a non-compliant engine can void registration.
Pro Tip: Before you purchase any replacement engine, cross-reference the engine code against repair databases like Haynes Pro or Autodata. These tools confirm compatibility in minutes and can save you thousands in returns or rework.
How does fitment assistance verify mechanical and electronic readiness?
The verification process follows a structured sequence. Skipping any step creates compounding problems during installation.
- Engine code matching. Cross-reference the donor engine code against the vehicle’s build plate and service records. Repair software like Autodata lists every compatible code variant for a given model year and body type.
- Mounting point measurement. Measure the distance between mounting ears on both the engine and the subframe. Confirm the mounts handle the engine’s weight and torque output. Engine mount torque specs sit between 60–100 Nm depending on the application.
- Bellhousing alignment check. Use a bellhousing alignment tool or dial indicator to confirm the engine block and gearbox face are parallel. Bellhousing bolts torque to 40–60 Nm. Even millimetre misalignment between bellhousing and engine block causes severe wear, so alignment tools are non-negotiable when adapter plates are involved.
- Wiring harness audit. Lay the replacement engine’s harness alongside the original. Match every plug to its sensor counterpart. Label connections before removal so reinstallation is methodical and error-free.
- ECU and immobiliser check. Confirm whether the replacement ECU is a direct swap or requires programming. Many late-model Hyundai and Kia engines use a paired ECU and immobiliser. Swapping one without the other means the engine will crank but not start.
Pro Tip: If the replacement engine comes from a different trim level or export market, check whether the ECU calibration matches your vehicle’s fuel grade, emissions tune, and transmission type. A mismatch here is invisible until the engine runs poorly or throws fault codes.
What goes wrong without proper fitment assistance?
Neglecting fitment assistance for engines produces predictable and costly failures. The mistakes below appear repeatedly in workshops across Australia.
- Assuming same-brand engines swap directly. A Hyundai G4KD from a 2010 Elantra does not fit a 2014 Tucson without modification, despite sharing a displacement. Model year, body variant, and transmission type all affect compatibility.
- Ignoring ECU and immobiliser mismatches. Modern engine swaps often fail due to ECU and immobiliser mismatches that prevent the engine from starting despite a perfect physical fit. This is the most common DIY stumbling block.
- Overlooking bellhousing misalignment. A bellhousing that is slightly off-centre loads the input shaft bearing unevenly. The gearbox may feel fine for the first few thousand kilometres before the bearing collapses.
- Skipping pre-lubrication. Cranking a dry engine to first start without pre-lubricating it first causes catastrophic bearing wear. Pre-lubrication by cranking without spark plugs builds oil pressure before combustion begins.
- Missing oil pan and exhaust clearances. A replacement engine with a deeper sump or a different exhaust manifold outlet can foul on the subframe or steering rack. These clearance issues only become apparent once the engine is seated, requiring full removal to rectify.
“Physical fit is the entry requirement, not the finish line. Electronic integration is where most modern engine swaps succeed or fail.” — Engine fitment specialists consistently make this point when reviewing failed DIY installations.
Step-by-step overview of the engine fitting process
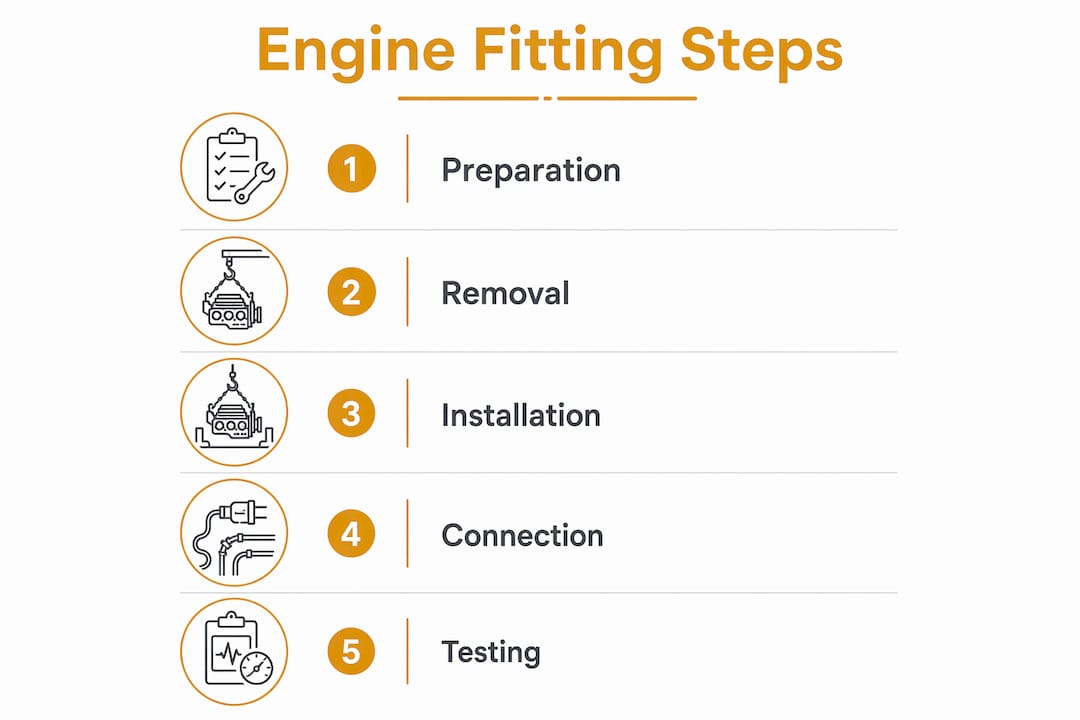
A standard engine replacement takes 12–20 hours of labour for a professional. DIY mechanics with experience should budget 20–40 hours. First-timers can expect 40–80 hours or more. The process breaks into five phases.
- Preparation. Disconnect the battery, drain coolant and oil, and remove the air intake, exhaust manifold, and ancillary components. Label every wiring connector with masking tape and a marker before disconnecting anything. Photograph the engine bay from multiple angles.
- Removal. Attach the engine hoist to the factory lift points. Support the transmission separately. Raise the engine slowly, checking for any remaining connections. Set the old engine on a stand for parts transfer.
- Engine preparation. Transfer the flywheel, alternator, power steering pump, and any vehicle-specific brackets to the replacement engine. Replace all gaskets, seals, and the timing belt or chain if service intervals are due. Pre-lubricate the engine by cranking it without spark plugs until the oil pressure light extinguishes.
- Installation. Lower the engine carefully onto the mounts. Torque mount bolts to specification before connecting the bellhousing. Connect the wiring harness methodically, working from the back of the engine bay forward. Reconnect fuel lines, coolant hoses, and the exhaust.
- Testing. Start the engine and check for leaks at all gasket faces, hose connections, and the oil filter. Let it reach operating temperature, then check coolant level and scan for fault codes. Complete a short drive cycle and re-check all fluid levels.
The table below summarises the key torque specifications and time estimates for each phase.
| Phase | Key specification | Time estimate |
|---|---|---|
| Preparation | Battery disconnected, fluids drained | 2–3 hours |
| Removal | Engine hoist, transmission supported | 2–4 hours |
| Engine preparation | Gaskets replaced, pre-lubrication completed | 3–5 hours |
| Installation | Mounts at 60–100 Nm, bellhousing at 40–60 Nm | 3–5 hours |
| Testing | Leak check, fault code scan, drive cycle | 2–3 hours |
For a detailed breakdown of labour costs in Australia, the engine replacement labour guide covers current rates and time expectations by vehicle type.
Pro Tip: Careful wiring harness connection, labelling, and checking prevent electrical problems after installation. Match every plug to its sensor before you lower the engine into the bay, not after.
Key takeaways
Engine fitment assistance works by verifying engine code compatibility, mechanical alignment, and electronic integration before and during installation to prevent costly failures.
| Point | Details |
|---|---|
| Engine codes are the primary identifier | Always cross-reference the engine code against repair databases like Haynes Pro before purchasing. |
| Electronic integration is the most common failure point | ECU and immobiliser mismatches prevent starting even when the physical fit is perfect. |
| Bellhousing alignment requires tools | Use a dial indicator or alignment jig to confirm parallel faces before torquing to 40–60 Nm. |
| Pre-lubrication prevents bearing damage | Crank without spark plugs to build oil pressure before the first cold start. |
| Time estimates vary significantly | Professionals take 12–20 hours; first-time DIYers should budget 40–80 hours for the full process. |
Why I think most engine swap failures are entirely preventable
I have seen the same mistakes repeated across dozens of engine swaps, and almost every failure traces back to one of two things: skipping the electronic compatibility check, or assuming that a same-brand engine is automatically a direct fit.
The electronic side catches people off guard because it is invisible. A Kia Sportage owner I worked with sourced a low-kilometre G4KD from a wrecker, confirmed the physical dimensions matched, and had the engine seated in a day. The car cranked perfectly and then refused to start. The replacement ECU was paired to a different immobiliser. Three days of diagnostics and a locksmith call later, the problem was solved. That entire situation was avoidable with a 20-minute check against Autodata before the engine left the wrecker.
The mechanical side is more forgiving but still punishing when ignored. Bellhousing alignment is the one I see skipped most often. Mechanics assume that if the bolts go in, the alignment is fine. A dial indicator takes five minutes to use and confirms what your eyes cannot see. The engine compatibility checklist I recommend to every mechanic I work with covers this step explicitly.
My honest advice: treat fitment assistance as a pre-purchase activity, not a post-purchase fix. Confirm the engine code, check the ECU pairing requirements, and measure the bellhousing pattern before you hand over money. The tools exist. The databases exist. There is no reason to guess.
— Jason
Engine Zone makes fitment verification straightforward
Engine Zone specialises in Hyundai and Kia crate engines for the Australian market, with every listing verified for model fitment before sale. Each engine comes tested and guaranteed, with detailed compatibility information matched to your vehicle’s engine code and model year. Whether you are a mechanic sourcing a replacement for a customer or a DIY enthusiast tackling your first swap, Engine Zone’s support team can confirm fitment before you order. Start with the crate engine installation checklist for a step-by-step guide covering preparation through to first startup, or browse the full range of Hyundai crate engines available with fast delivery across Australia.
FAQ
What is engine fitment assistance?
Engine fitment assistance is the process of verifying that a replacement engine is physically and electronically compatible with a specific vehicle before and during installation. It covers engine code matching, mounting point confirmation, ECU compatibility, and wiring harness checks.
Why does physical fit alone not guarantee a successful engine swap?
ECU and immobiliser mismatches can prevent an engine from starting even when it bolts in perfectly. Modern vehicles require electronic communication between the engine management system and the body control module for the engine to run.
How long does a full engine replacement take?
A professional mechanic takes 12–20 hours for a complete engine replacement. Experienced DIY mechanics should budget 20–40 hours, while first-timers can expect 40–80 hours or more depending on the vehicle and complexity of the swap.
What torque specifications apply to engine mounts and bellhousing bolts?
Engine mount bolts typically torque to 60–100 Nm depending on the application. Bellhousing bolts torque to 40–60 Nm. Always confirm the exact specification for your vehicle using a repair database or workshop manual.
How do I check engine compatibility before buying a replacement?
Cross-reference the engine code from your vehicle’s build plate against a repair database like Haynes Pro or Autodata. Confirm the mounting pattern, transmission bellhousing compatibility, and ECU pairing requirements before committing to a purchase.